DIY Propagation Station from Things You Own
 Reviewed by
 You don't need to spend a penny for a good-looking propagation station. Here are four easy DIY ideas using jars, bottles and a board from your recycling bin.
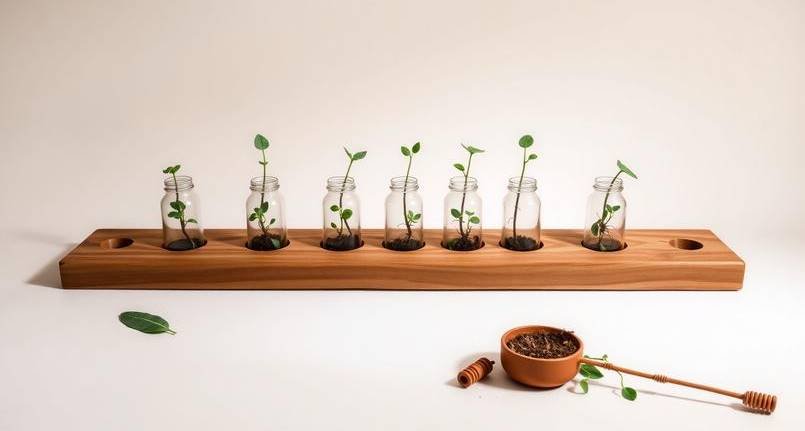
You don't need to spend a penny to have a good-looking propagation station. Everything a cutting needs — clear water, a stable holder, and light — you almost certainly already own. Here are four easy DIY ideas, from a two-minute jar cluster to a wall-mounted board, using things from your kitchen and recycling bin.
Why DIY beats buying
A shop-bought station holds cuttings in water. So does a jam jar. The plant genuinely cannot tell the difference, which means every pound you'd spend on a station is optional. DIY also lets you size the setup to your exact space and cutting count, reuse what you'd otherwise recycle, and expand for free whenever you take more cuttings. The only thing you lose is a little polish — and even that's fixable with matching jars.
What you already own
- Jars and bottles — jam jars, spice jars, small glass bottles, even a narrow vase.
- A wooden board or crate — for a raised rack or wall mount.
- Wire, twine or a bottle carrier — to cluster or hang vessels.
- An egg carton or tray — surprisingly good for holding several small jars upright.
Four DIY station ideas
1. The jar cluster. The two-minute classic: group matching jars on a saucer or small tray. Instant tidiness, zero effort, easy to expand.
2. The spice-jar "test tube" look. Slim spice jars or small bottles mimic the elegant test-tube stands for free. Stand them in a narrow box or a drilled block of wood.
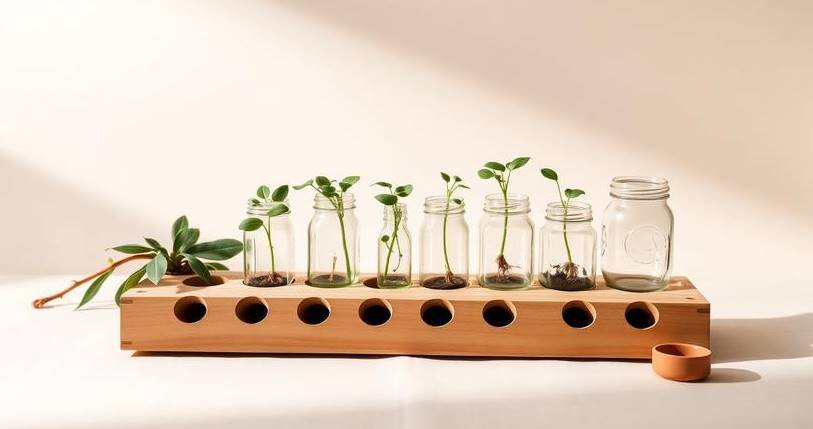
3. The bottle rack. Take a wooden board, drill holes sized to your bottle necks, and drop the bottles in so they hang at the collar. Looks intentional, holds a lot.
4. The wall-mounted board. Fix small clamps or wire loops to a board and mount it on the wall, each holding a bottle or test tube. Saves surface space and looks striking.
Build a simple jar rack
Collect matching vessels
Round up several jars or bottles of a similar size so the finished rack looks deliberate.
Pick a base or board
Use a tray for a simple cluster, or a wooden board if you want to drill holes for a raised rack.
Space and (optionally) drill
Arrange the vessels evenly. For a board rack, mark and drill holes slightly smaller than each bottle's widest point so it rests at the neck.
Fill and add cuttings
Add room-temperature water, drop in your cuttings with the node submerged, and set it in bright indirect light.
Tips for a tidy setup
Matching vessels instantly make a DIY station look designed rather than improvised. Keep it near a bright window but out of direct sun to avoid algae. Label each jar with the plant and date — you'll thank yourself later. And if you'd rather see what ready-made options cost before committing, compare them in best propagation stations, or check the truly minimal kit in essential tools. Planning to move cuttings to soil afterwards? Have a light propagation mix ready.
Common questions
How do I make a propagation station at home?
Group clear jars or bottles on a tray, or drill holes in a wooden board to hold bottles at the neck. Add water, submerge the node of each cutting, and place it in bright indirect light.
What can I use instead of a propagation station?
Almost any clear glass — jam jars, spice jars, small bottles or a narrow vase. The plant doesn't care what holds the water, only that the node stays submerged.
Does a DIY station work as well as a bought one?
Yes, identically. A station is just a holder for water; a repurposed jar roots cuttings exactly as well as a designer stand.
How do I stop algae in my jars?
Keep the station in bright indirect light rather than direct sun, and change the water every few days. Clear water and less direct light keep algae from building up.