Stem Cuttings 101: Where to Cut and Why It Matters
 Reviewed by
 Nearly every propagation method depends on one small thing: the node. Learn to spot it and cut in the right place, and your success rate jumps overnight.
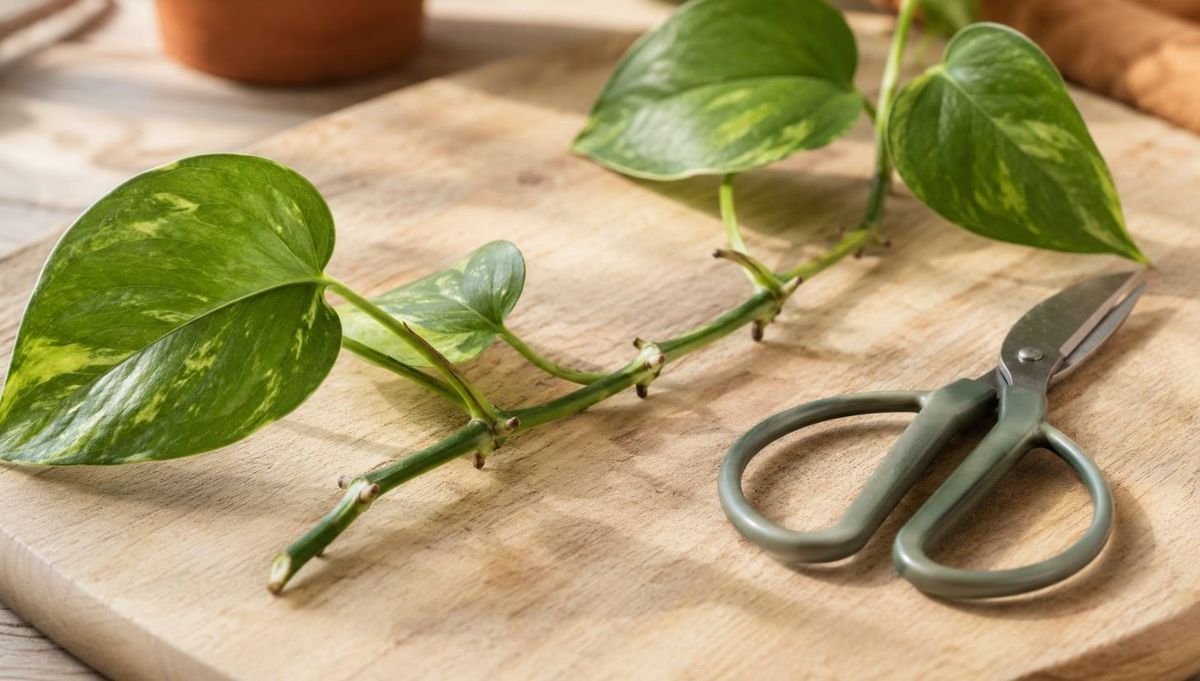
Almost every propagation method — water, soil, moss, LECA — rests on one small piece of plant anatomy: the node. Get comfortable spotting one and cutting in the right place, and your success rate jumps overnight. Miss it, and you can do everything else perfectly and still end up with a stem that roots nowhere. This is the fundamentals guide the rest of the site quietly relies on.
The node: the whole secret
A node is the point on a stem where a leaf, bud or side-shoot emerges. It's usually a slightly thickened bump or ring. This is where a plant keeps the cells capable of turning into roots, so a cutting only roots if it has a node below the water or soil line. Everything else on the stem — the smooth length between nodes, called the internode — won't produce roots on its own.
Once you internalise "no node, no roots," a lot of failed cuttings suddenly make sense. That gorgeous long piece of vine you rooted with only leaves showing? No node under the surface, so nothing happened.
Reading a stem
Three parts are worth knowing by name, because they come up everywhere in propagation:
- Node — where leaves and roots originate. The part you must keep.
- Internode — the bare stretch between nodes. Fine to have, but it won't root.
- Petiole — the little stalk connecting a leaf to the stem. Not a node; a leaf on its own petiole usually won't grow a new plant (with the leaf-propagation exceptions we cover here).
Exactly where to cut
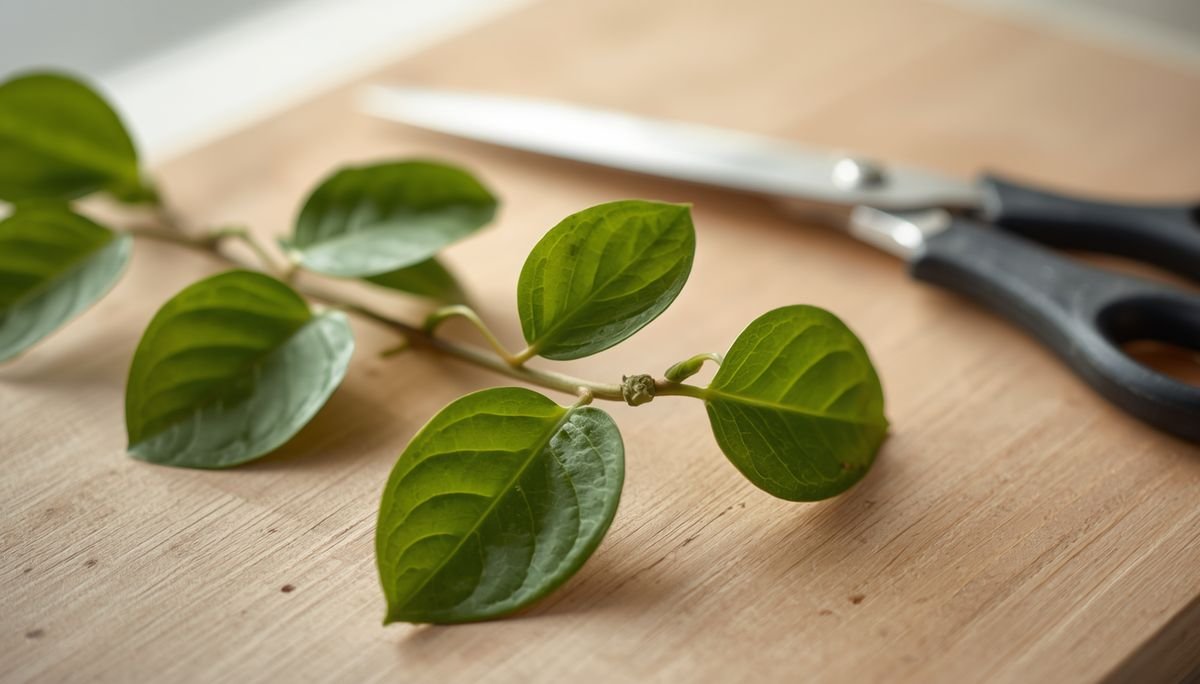
Cut cleanly about a centimetre below a node. Cutting just under the node means that node sits at the very bottom of your cutting, ready to root, with no long tail of bare stem to rot beneath it. Use clean, sharp scissors or snips — a crushed or ragged cut heals slowly and invites rot.
Pick a healthy stem
Choose a firm, green stem on an actively growing plant. Avoid soft, yellowing, or woody-old growth.
Locate the lowest node you'll keep
Decide which node will sit at the bottom of the cutting. That's your reference point.
Cut just below it
Snip about a centimetre under that node, clean and square. One node is enough; two is a bonus.
Strip the lower leaves
Remove any leaves that would sit below the water or soil line so they don't rot.
How much leaf to keep
Leaves power rooting through photosynthesis, so you want some — but not so many that the cutting can't support them while it has no roots. Two or three leaves is the sweet spot for most plants. If the leaves are huge (think a big monstera leaf), one is plenty; you can even trim a giant leaf down by half to reduce the load. Too many leaves and the cutting wilts faster than it can drink; too few and it roots sluggishly.
What to do next
With a good cutting in hand, you can root it however you like. If you're new, the friendliest route is our water propagation walkthrough — you'll actually see the node do its thing. Prefer to skip the transition to soil? Compare the two in soil vs water propagation. And if a cutting ever refuses to root or turns mushy, the node placement is the first thing to check, followed by our guide on why cuttings rot.
Common questions
What exactly is a node?
A node is the point on a stem where a leaf, bud or shoot grows out, usually a small bump or ring. It contains the cells that can become roots, which is why a cutting must have one below the water or soil line.
How many nodes does a cutting need?
One is enough to root. Two gives a little insurance and can produce a fuller plant. More than that isn't necessary.
Can I cut between nodes instead?
You can cut anywhere, but the important thing is that a node ends up at the bottom of your cutting. Cutting mid-internode just leaves a bare tail that tends to rot before roots appear.
Why keep some leaves but not too many?
Leaves fuel rooting through photosynthesis, so keep two or three. Too many and the rootless cutting can't keep them hydrated and wilts; too few and it roots slowly.