Setting Up a Humidity Box for Stubborn Cuttings
 Reviewed by
 When a cutting won't root, a little humidity is often the missing piece. A humidity box is the cheapest way to tip it over the edge — and you can build one in two minutes.
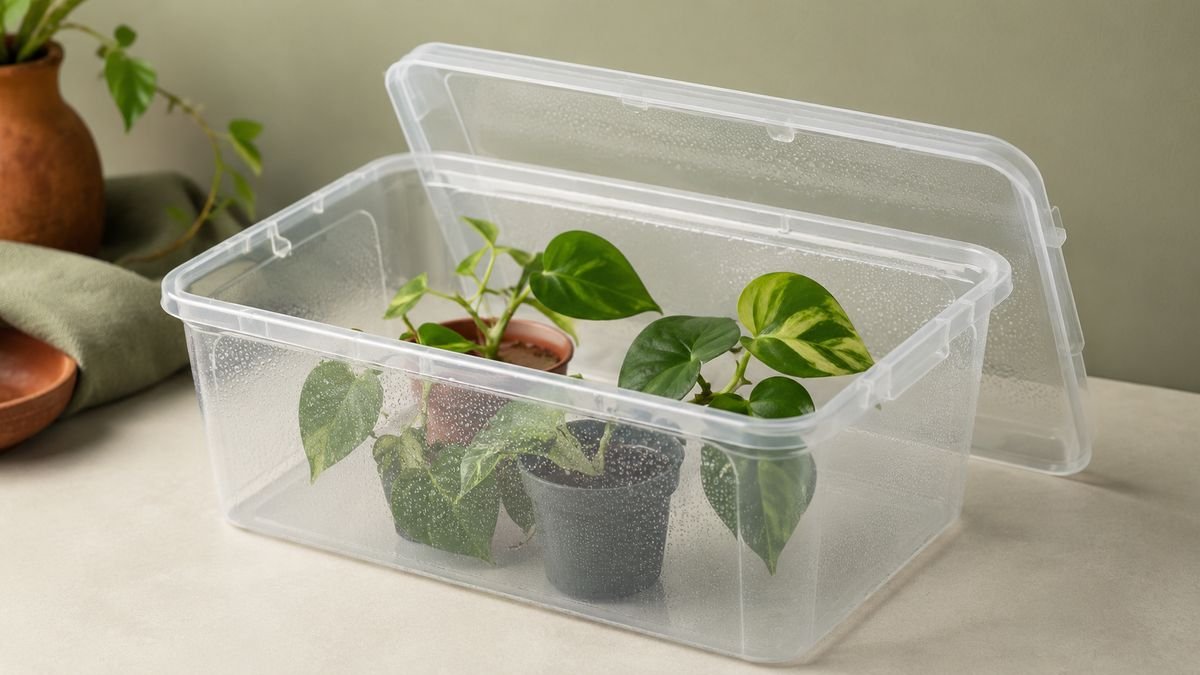
When a cutting refuses to root, a little humidity is often the missing ingredient. A humidity box is the cheapest, simplest way to tip a stubborn cutting over the edge — and you can build one from a clear tub or a plastic bag in about two minutes. Here's why it works and how to set one up.
Why humidity helps rooting
A fresh cutting has no roots yet, but its leaves keep losing water to the air. If they lose it faster than the rootless stem can replace it, the cutting wilts and stalls — or gives up entirely. Raising the humidity around the cutting slows that water loss right down, buying the stem time to grow roots before the leaves dry out. That's the whole principle: less moisture escaping the leaves, more energy going into roots. It matters most for cuttings with large leaves or in dry indoor air.
What a humidity box is
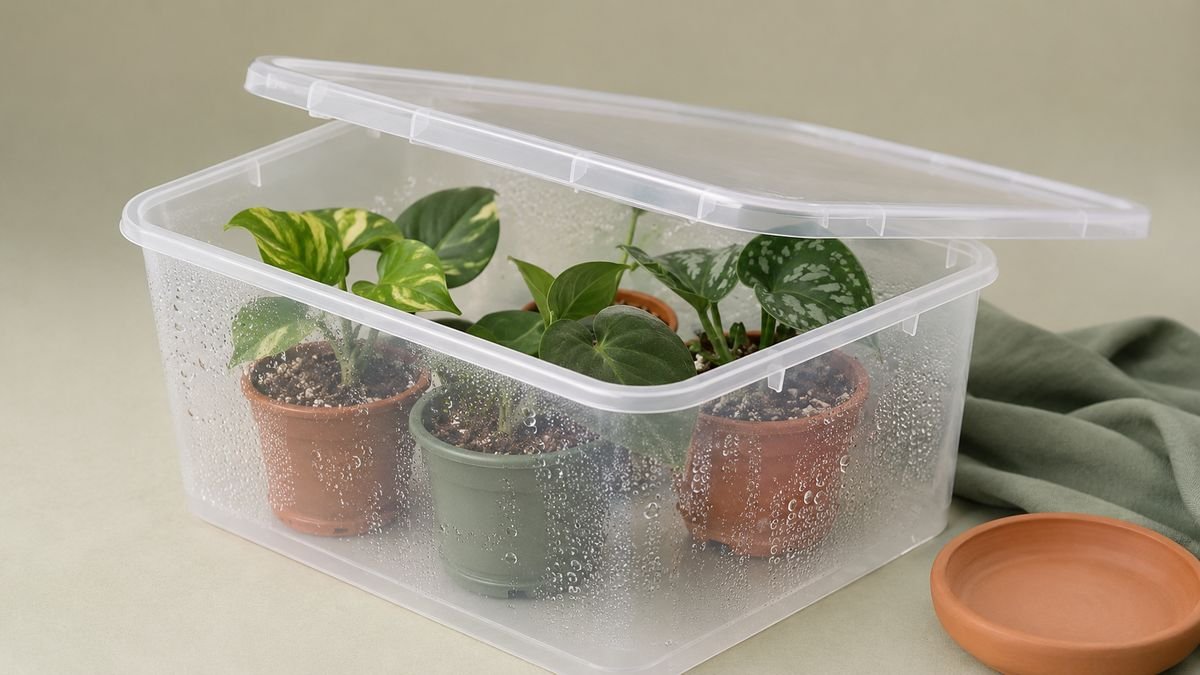
It's simply a clear, enclosed space that traps moisture around your cuttings — a mini greenhouse. Because it's clear, light still reaches the leaves; because it's enclosed, the air inside stays humid. Anything transparent that seals loosely will do the job, which is why you almost never need to buy a purpose-made propagator.
Easy DIY options
- Clear storage tub with a lid — the best all-rounder. Roomy, reusable, holds several cuttings.
- Plastic bag tent — pop a clear bag over a pot, propped up with sticks so it doesn't touch the leaves.
- Bottle cloche — cut the bottom off a clear plastic bottle and set it over a single cutting like a dome.
- Takeaway container — a clear clamshell box is a ready-made mini propagator.
Build one in minutes
Pick a clear container
A storage tub, bag, or cut bottle — anything transparent that encloses the cutting.
Add your cuttings
Place potted cuttings or a moss/soil tray inside. Keep leaves from pressing against the walls.
Loosely cover
Put the lid on or drape the bag, but don't seal it airtight — a little gap allows airflow.
Set in bright indirect light
Never direct sun — a closed box in sunlight cooks the cuttings. Bright ambient light is perfect.
Air it out regularly
Open it for a few minutes every day or two to refresh the air and prevent mould.
The ventilation balance
The art of a humidity box is balancing moisture against airflow. Fully sealed, it gets so damp that mould and rot move in; fully open, it isn't humid enough to help. The sweet spot is a loosely covered container with a small gap, aired out every day or two. You want to see light condensation on the walls — not dripping water pooling at the bottom. Cuttings that especially benefit include large-leaved plants, leaf cuttings, and anything rooting in dry winter air.
Common questions
Do cuttings really need a humidity box?
Not always. Easy cuttings root fine in open air. A humidity box helps stubborn, large-leaved, or slow cuttings, and anything rooting in dry indoor air.
How do I make a humidity box?
Use any clear container — a storage tub, plastic bag or cut bottle. Add your cuttings, cover loosely without sealing, and keep it in bright indirect light, airing it every day or two.
Should the humidity box be sealed?
No. Seal it and mould thrives; leave it fully open and it isn't humid enough. Cover loosely with a small gap and vent it regularly.
Why is there mould in my humidity box?
Too much moisture and too little airflow. Increase ventilation, wipe it down, and avoid waterlogged medium. See our mould cleanup guide for details.